These Grilled Cheese Sliders using Hawaiian Rolls are the ultimate comfort-food bite - buttery, cheesy, golden, and perfect for game day, parties, or an easy weeknight dinner. The best part? You can make them on a sheet pan or in a skillet in under 30 minutes! Use any cheese combo you love - cheddar, provolone, Swiss, or a gooey blend of all three. Get ready for melty perfection in every bite!

You may also love to serve these with my Crock-Pot Tomato Soup recipe. And these sliders are exactly the kind of cozy, grab-and-go recipe that belongs on a football party food table.
Quick Look: Ricotta Egg Bites
- ⏱ Prep Time: 10 minutes
- 🔥 Cook Time: 12 minutes
- 🍽️ Servings: 12 egg bites
- ❤️ Why you'll love this recipe: Easy, fluffy, high-protein ricotta egg bites that are perfect for meal prep or on-the-go.
- 🍪 Main Ingredients: eggs, ricotta, shredded cheese
- 👌 Difficulty: Easy
Summarize & Save this Content on
Jump to:
❤️ Why this recipe works
There's just something about grilled cheese slider sandwiches that makes everyone happy. They're nostalgic, crowd-pleasing, and incredibly versatile. Instead of making one sandwich at a time, this version uses a pack of Hawaiian rolls to create 12 perfect mini sandwiches at once.
Here's why this recipe works every single time:
- Quick and Easy - Ready in about 20-25 minutes, perfect for a weeknight or party platter.
- Crispy Edges + Gooey Middle - The buttered tops get golden and crunchy while the cheese melts into the fluffy rolls.
- Customizable - Mix and match your favorite cheeses or add extras like ham, turkey, or even get fancy by adding lobster for a lobster grilled cheese!
- Crowd Favorite - Ideal for entertaining, game day, or as an after-school snack. Everyone loves a mini version!
- Make-Ahead Friendly - You can prep them earlier in the day, refrigerate, and bake right before serving.
It's that irresistible combo of crispy-buttery bread and molten cheese that keeps these in permanent rotation at my house.
🧀 What goes into this recipe:
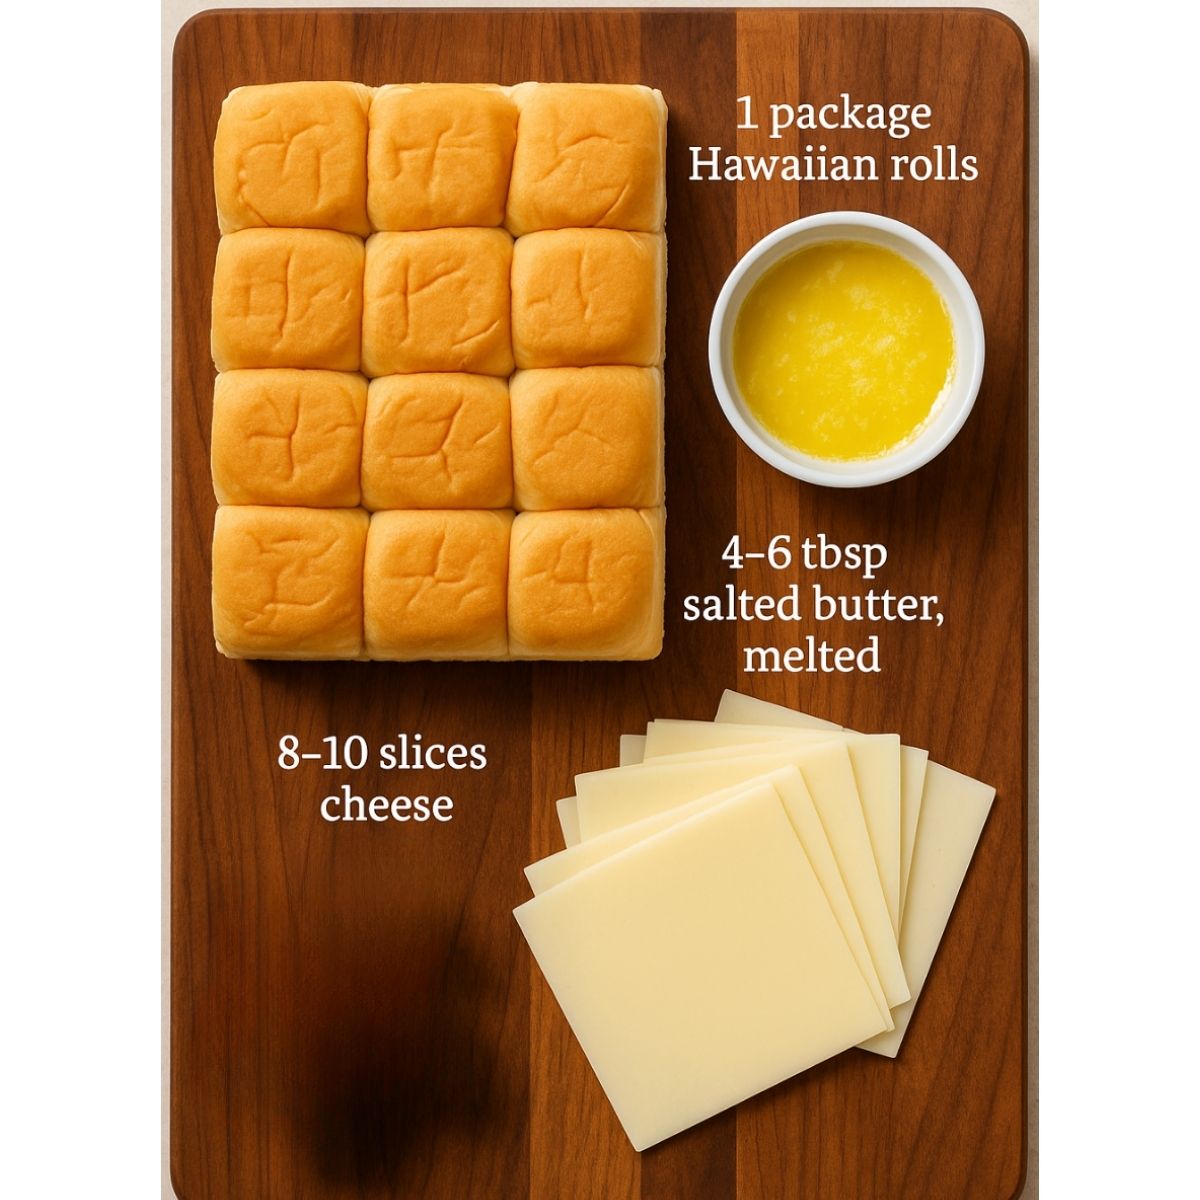
You only need a handful of ingredients to pull these off:
- 1 package Hawaiian rolls (12-count) - Sweet, fluffy, and the perfect size.
- 4-6 tablespoons salted butter, melted - Brush it generously on top for that signature golden crust.
- 8-10 slices of cheese - I like American and Provolone, but choose what you like. Cheddar, Swiss, pepper jack, goat cheese, brie or mozzarella all melt beautifully.
- Optional fillings - A slice of ham or turkey, caramelized onions, tomato, or pesto for a fun twist.
- Sea salt or garlic salt (optional) - A light sprinkle over the tops adds flavor and texture.
- That's it! Simple pantry ingredients, but the result tastes like a little bite of heaven.
🧀 Adult Grilled Cheese Variations
One of the best things about these grilled cheese sliders is how easy they are to customize. Whether you're feeding kids or making something a little more elevated for entertaining, there's an option for everyone.
🥩 Steak and Cheese Sliders
Turn these into steak and cheese sliders by adding thinly sliced ribeye or shaved sirloin with sautéed onions and provolone. It gives you that Philly-style flavor in a mini, party-friendly version.
🦞 Lobster Grilled Cheese
Want something indulgent? Make a lobster grilled cheese by folding chopped lobster meat into a creamy cheese blend. Use buttery brioche slider buns and finish with a sprinkle of chives. It's perfect for showers, holidays, or when you want something a little extra.
🧀 Elevated Grilled Cheese
For a more elevated twist, create an adult grilled cheese version by using sharp white cheddar, gruyère, or fontina with caramelized onions or fig jam. The deeper flavors make these sliders feel restaurant-worthy.
🐐 Grilled Cheese Goat Cheese
Add creamy tang and richness by spreading grilled cheese goat cheese onto the buns before layering in mozzarella or havarti. Goat cheese pairs beautifully with roasted tomatoes, fresh basil, or even a drizzle of hot honey.
🗒 How to Make Grilled Cheese Sliders:
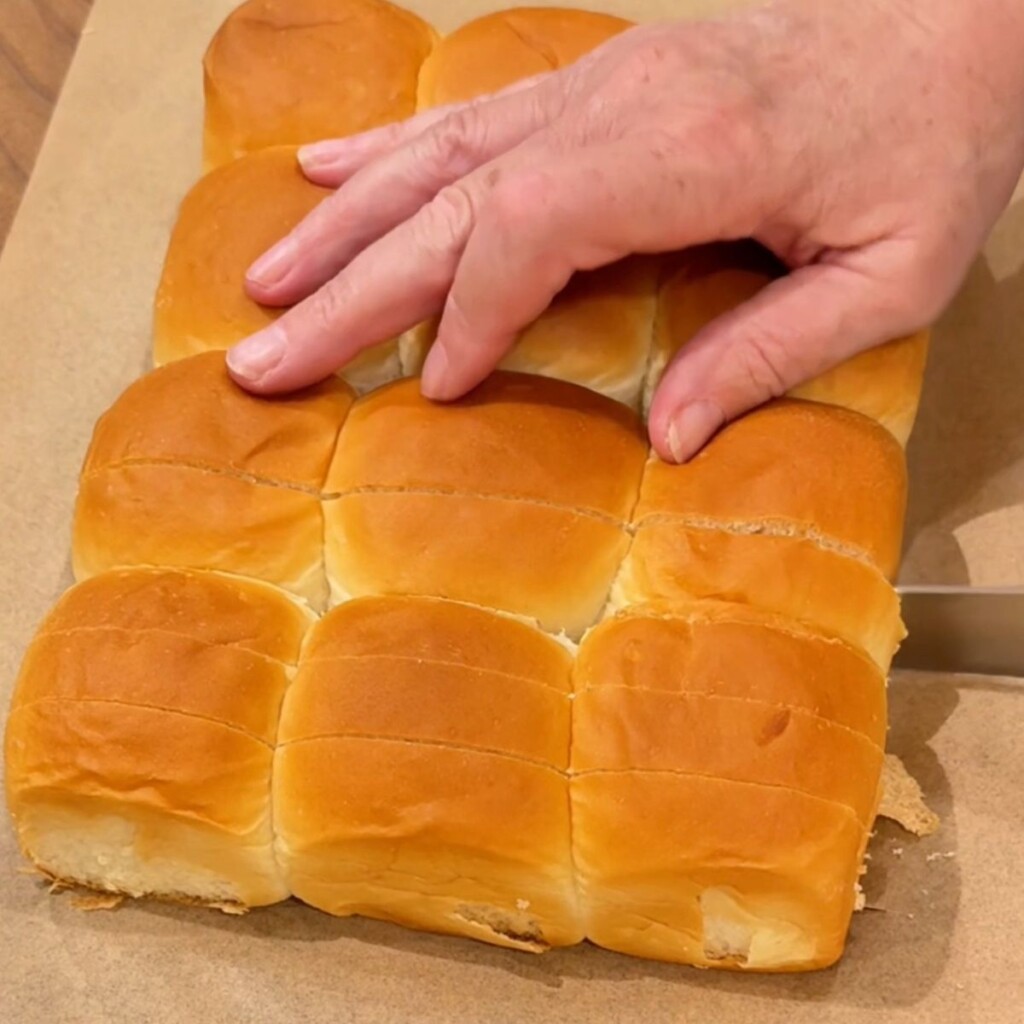


1. Slice the rolls
Without separating them, slice each Hawaiian roll into three even layers, going from the top of roll to the bottom of the roll. Then separate all 12 rolls into 36 slices to make 18 grilled cheese sliders. This is easiest done with a serrated knife
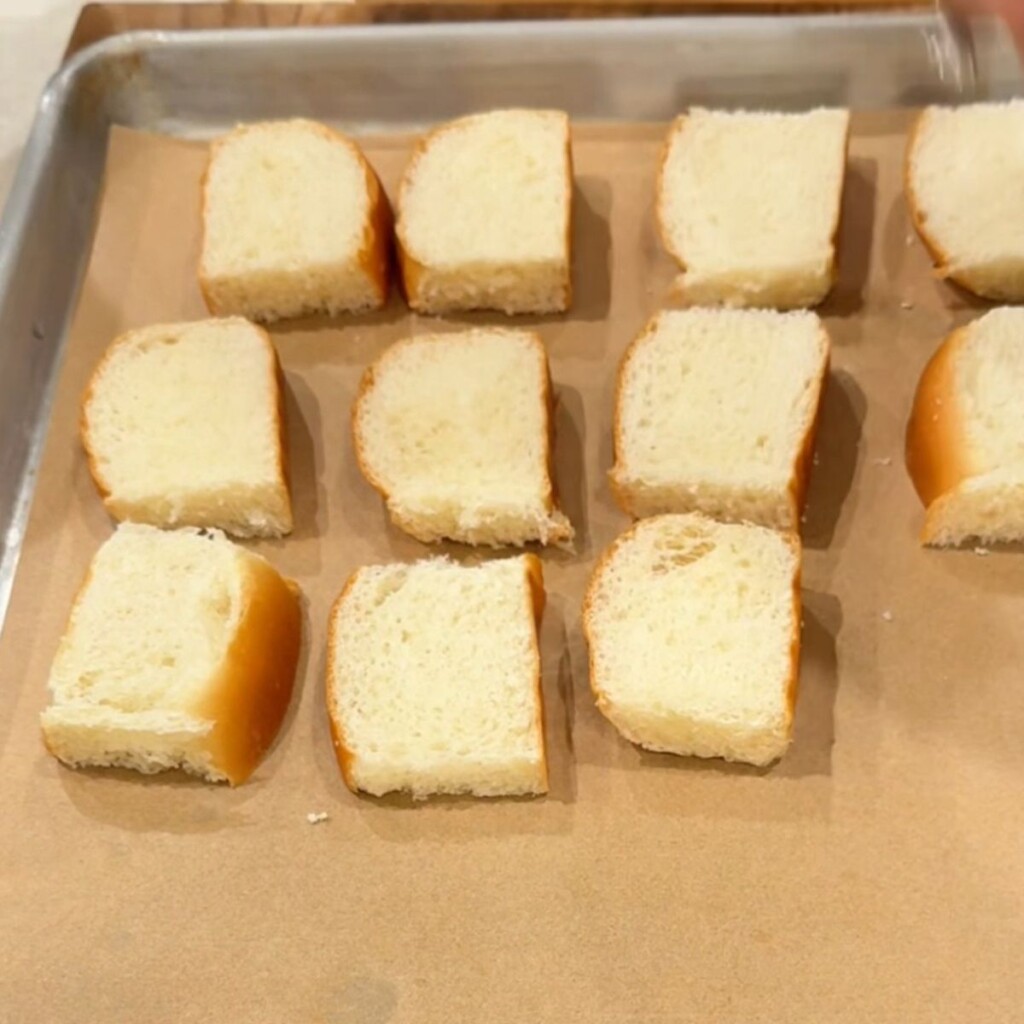
2. Butter and layer
Brush the bottom layer with melted butter. Add your cheese slices evenly across the bottom (go edge to edge for full coverage). Add any optional fillings like ham or tomato slices.
3. Top and butter
Place the middle layer of rolls on top, repeat with more cheese, then finish with the top layer. Brush the tops generously with melted butter and a sprinkle of garlic powder or sea salt if desired.
4. Bake or skillet cook
- Sheet Pan Method: Bake at 375°F for 10-12 minutes or until the tops are golden and the cheese is fully melted.
- Skillet Method: Cook in a buttered skillet over medium heat, pressing gently with a spatula for 2-3 minutes per side until golden.
5. Serve
Great with my Crock Pot Tomato Soup Recipe
🤔 Common Questions
Yes! Assemble the sandwiches up to a few hours in advance, cover tightly, and refrigerate. When ready, bake just before serving.
American is classic and will give you the melty goodness you love, but a blend of American and cheddar, provolone, or your other favorite cheese will give you more flavor. For an adult grilled cheese, try Havarti, goat cheese or Brie.
Yes - once baked and cooled, wrap individually and freeze for up to a month. Reheat in the oven at 350°F for 10 minutes.
For extra crispiness, yes! But if you're baking on a sheet pan, buttering the tops is enough to get that golden finish.
Baking on a sheet pan makes it easy for a crowd. It also makes it more hands-free. But if you want the crispiest grilled cheese, fry it in a skillet.

🪄 Tips and Tricks
- Nutmeg Magic: A pinch of nutmeg can subtly enhance the flavor profile, especially if you're aiming for that cottage cheese alfredo sauce feel. Use it sparingly-it is potent!
- Blend to Perfection: For that silky smooth texture, be sure to ooth and cohesive.
- Garnishing Tips: Finish with a sprinkle of fresh herbs, kosher salt or a dusting of Parmesan. Not only do they add flavor, but they also give your dish an inviting, restaurant-quality appearance.
- Don't overbake - Once the tops are golden and cheese is bubbly, pull them out- they can burn quickly.
- Serve with a dip! Tomato soup, marinara, or ranch make these irresistible.
- Hosting hack - Make two trays: one classic cheddar, one fancy blend like Gruyère and white cheddar for variety.
🗒 Other Party Foods


If you tried this Grilled Cheese Sliders or any other recipe on my blog, please leave a 🌟 star rating and let me know how it went in the comments below!

Grilled Cheese Sliders
Ingredients
- 1 12 ounce package King's Hawaiian Rolls
- 6 slices American cheese
- 6 slices Provolone cheese
- 3 tablespoons butter softened
Instructions
- Preheat oven to 350°.
- Spray a 9x13-inch baking pan with nonstick cooking spray; set aside.
- Without pulling the rolls apart, cut them in half horizontally and lay them on a clean work surface.
- Spread the bottom of the rolls with butter.
- Place the bottom half of the rolls in the prepared baking dish or sheet pan.
- Top with sliced American cheese and sliced provolone cheese.
- Place the top half of the rolls on top. Optional: Sprinkle with kosher salt or garlic salt for a twist.
- Brush on melted butter.
- Bake: Place sliders on the baking sheet and bake for 20-25 minutes, flipping halfway through, until golden and melty.
- Cut rolls apart and serve.
Notes
- A serrated knife makes it easier to cut the rolls in half horizontally.
- Prep these ahead and keep them covered in the fridge until baking.
Use any cheesy like for this, but I always liked to add American for that melty classic goodness. - Extra crispy tip: Broil for 30-60 seconds at the end for a crispier top (watch closely, they go fast!!)
- Serve with my Slow Cooker Tomato Soup.
- Adult Grilled Cheese Variations: Add cooked lobster meat for a decadent lobster grilled cheese, add thinly sliced steak for a steak and cheese sliders, or fancy up the cheese using Brie or Goat Cheese.


Leave a Reply