
Homemade Uncrustables
The Ultimate Guide
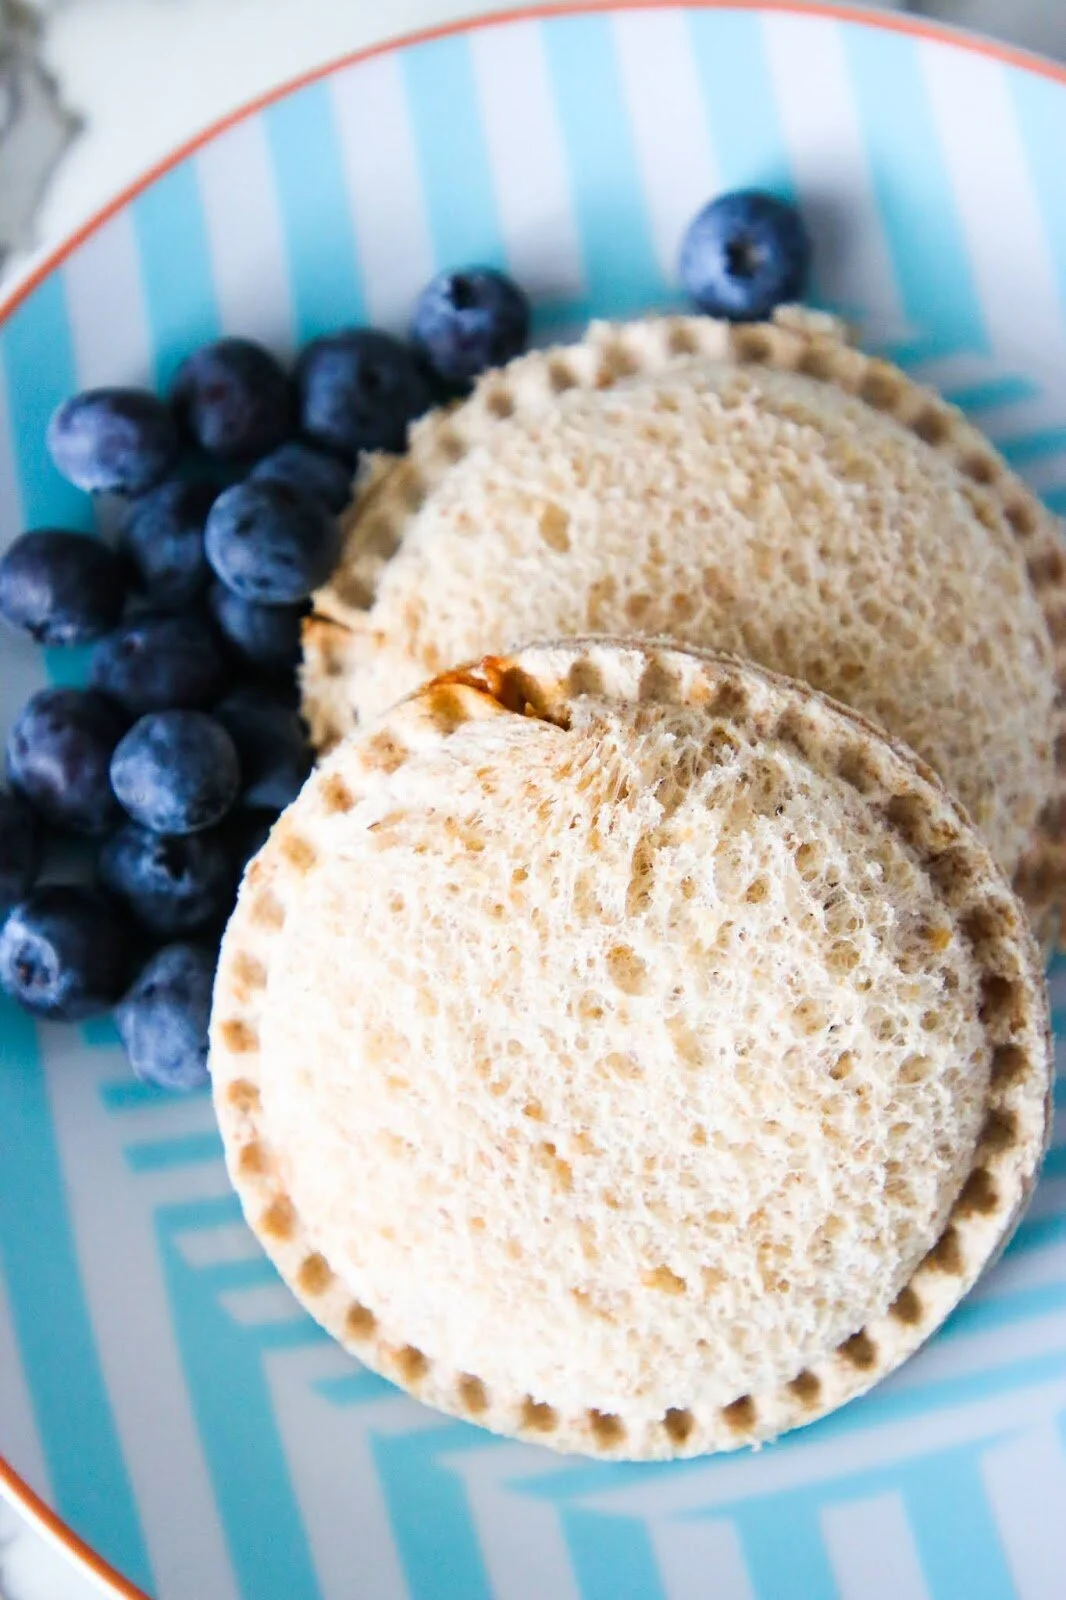
Photo by the Happy Family
Who doesn't love an Uncrustable? These pre-packaged, crustless sandwiches filled with all kinds of yummy spreads make for a perfect snack or quick lunch. But have you ever thought about making your own homemade Uncrustables? Not only are they easy to make, but they’re also customizable and cost-effective. In this guide, we’ll explore everything from how to make Uncrustables to fun flavor combinations like Uncrustables Nutella and Uncrustables honey. So, let’s get started!
Why Make Homemade Uncrustables?
Store-bought Uncrustables are convenient, but making them at home has its own advantages. First, you can control the ingredients, ensuring that what you’re feeding your family is fresh and nutritious. Second, it’s a cost-effective solution. Those store-bought sandwiches can get expensive if you’re buying them regularly. Finally, homemade Uncrustables can be customized with different fillings. You’re not limited to just peanut butter and jelly; you can try different spreads like Nutella, honey, or even almond butter!
How to Make Uncrustables at Home
Making your own Uncrustables is surprisingly easy. All you need is bread, your favorite fillings, and an Uncrustables maker to seal the deal—literally! Here’s a simple step-by-step guide on how to make Uncrustables.
Ingredients:
2 slices of your favorite bread (whole wheat, white, gluten-free, etc.)
Your choice of filling: peanut butter, jelly, Nutella, honey, or any spread you like
Optional: banana slices, chocolate chips, or other mix-ins for added flavor
Instructions:
Lay two slices of bread flat on a clean surface.
Spread your chosen filling (about a tablespoon) on one slice of bread. If using peanut butter, try pairing it with jelly, honey, or even Nutella for extra flavor.
Place the second slice of bread on top of the first, creating a sandwich.
Use an Uncrustables maker to press and seal the edges of the sandwich, cutting off the crust in the process.
Voila! You now have a perfect homemade Uncrustable ready to enjoy or freeze for later. See FAQ on how to prevent leaking.
The beauty of learning how to make Uncrustables at home is that you can prep several at a time and store them in the freezer. Whenever you're hungry, just grab one, and it’ll thaw in a matter of minutes!

Photo from Amazon
Why Use an Uncrustables Maker?
You might be wondering why an Uncrustables maker is necessary. While you can certainly cut the crust off a sandwich with a knife, an Uncrustables maker ensures a tight seal, which is key to keeping the filling inside and preventing leaks. These handy tools are inexpensive and easy to use, making the process of creating homemade Uncrustables a breeze. Plus, they’re perfect for making uniform sandwiches that look just like the store-bought version. This uncrustable maker I use and works fabulously!
Fun Flavor Combinations
Now that you know how to make Uncrustables, let’s talk about the fun part—customizing them with different fillings! Here are some flavor ideas that go beyond the classic peanut butter and jelly.
1. Uncrustables Nutella
Nutella lovers, rejoice! Spread a generous layer of Nutella between two slices of bread for a rich, chocolatey sandwich. Want to take it up a notch? Add banana slices or marshmallow fluff for a decadent twist.
2. Uncrustables Honey
If you're looking for something a little different, try making Uncrustables with honey. Spread peanut butter on one slice of bread and drizzle honey on top for a sweet and salty combo that’s hard to resist.
3. Uncrustables Peanut Butter
Of course, the classic Uncrustables peanut butter sandwich is always a winner. You can mix and match it with different jams or even add a little crunch by sprinkling some granola or chocolate chips inside.
4. DIY Uncrustables with Unique Fillings
Don’t feel limited by traditional spreads! Try cream cheese and strawberry jam, almond butter and apple slices, or even hummus and veggies for a savory option. The sky’s the limit when it comes to making your own DIY Uncrustables.
Freezing and Storing Homemade Uncrustables
One of the biggest benefits of making your own Uncrustables is the ability to freeze them for later. To freeze, place your sealed sandwiches in a single layer on a baking sheet and pop them into the freezer for about an hour. Once frozen, transfer them to a resealable plastic bag or airtight container. They can be stored for up to two months.
When you're ready to eat, just grab one and let it thaw at room temperature for 30-60 minutes. Or, if you're in a hurry, you can microwave it for 10-15 seconds.
Benefits of DIY Uncrustables
Cost-effective: Buying sandwiches individually can add up, especially if you have a large family. Making your own DIY Uncrustables at home can save you money in the long run.
Customizable: You get to decide what goes into each sandwich, from the type of bread to the filling. Whether you prefer Uncrustables Nutella, honey, or classic peanut butter, the choice is yours.
Healthier options: When you make homemade Uncrustables, you can opt for whole grain bread, organic fillings, or reduced-sugar jams. You can also avoid preservatives and additives commonly found in store-bought versions.
Perfect for meal prep: Homemade Uncrustables are easy to make in bulk and freeze. They’re a perfect addition to lunch boxes, road trip snacks, or quick afternoon pick-me-ups.
Tips for Making the Best Homemade Uncrustables
Use fresh, soft bread: This helps to create a good seal when using your Uncrustables maker.
Don’t overfill: Using too much filling can make it hard to seal the sandwich and may cause leaks.
Mix up the fillings: Keep things interesting by rotating between Uncrustables peanut butter, Uncrustables Nutella, and other creative fillings.
Invest in an Uncrustables maker: If you plan to make these often, an Uncrustables maker will save you time and ensure perfect sandwiches every time.
FAQ: Homemade Uncrustables
Q: How long can I store homemade Uncrustables in the freezer?
A: You can store homemade Uncrustables in the freezer for up to two months. Just make sure they’re stored in an airtight container to prevent freezer burn.
Q: Can I make Uncrustables without an Uncrustables maker?
A: Yes! While an Uncrustables maker ensures a clean seal, you can also use a fork to press the edges of the sandwich or cut the crust off with a knife.
Q: Can I make Uncrustables with gluten-free bread?
A: Absolutely! Gluten-free bread works just as well as regular bread for making Uncrustables. Just be gentle, as some gluten-free bread can be more fragile.
Q: What fillings work best for Uncrustables?
A: Peanut butter and jelly are classics, but you can get creative with spreads like Nutella, honey, cream cheese, or hummus. Just make sure the fillings aren’t too wet, as they can make the bread soggy.
Q: Are homemade Uncrustables healthier than store-bought ones?
A: They can be! By choosing whole grain bread and natural, low-sugar fillings, you can make healthier versions of the classic Uncrustables sandwich.
Q: Can I make Uncrustables without peanut butter?
A: Of course! Try almond butter, sunflower seed butter, or other nut-free spreads if you have allergies or prefer a different flavor.
Q: How to ensure they don’t get soggy?
To ensure they don’t get soggy from the jelly, put a thin layer of peanut butter on both pieces of bread. Then about a tablespoon of jelly or preserves (slightly less if you’re using honey) and keep it confined to the center of the bread. Be careful of using too much jelly — or it will leak out.
Final Thoughts
Homemade Uncrustables are a fun, easy, and customizable option for anyone who loves this classic snack. Whether you're a fan of Uncrustables peanut butter or prefer the sweetness of Uncrustables Nutella, the possibilities are endless. With an Uncrustables maker and a little creativity, you can create delicious sandwiches that are perfect for freezing and enjoying on the go. So why not give DIY Uncrustables a try? They’re a simple solution that can make snack time more exciting for everyone in the family!
Ready to make your own? Grab some bread, your favorite spreads, and start experimenting

Make-Ahead Uncrustables
Ingredients
- 12 slices white or soft wheat bread like Oroweat
- 6 tbsp jelly
- 6 tbsp peanut butter (or other type of butter)
Instructions
- Arrange the bread on a flat surface and spread a THIN layer of peanut butter on each slice of bread. This prevents the jelly from making the bread soggy. Next, add a tablespoon of jelly into the center of 6 of the slices.
- Repeat the procedure with the remaining six slices of bread and the peanut butter. Sandwich the two slices together and press down slightly.
- Using a sandwich cutter, cut out the center of the peanut butter and jelly sandwiches pressing firmly to seal the edges. Alternatively, if using a cookie cutter, biscuit cutter, or mason jar lid, cut out the center of the sandwich and seal the edges by pressing down with a fork around the perimeter of the sandwich. You may need to run a sharp knife around the edge to create a clean line.
- To freeze: Place the sandwiched in individual zip top bags. Press out the air and seal. Transfer to the freezer and freeze until firm.
- To thaw: Remove the sandwich from the freezer and allow to thaw at room temperature for 5-10 minutes.
Notes:
Variations:
- PB&J of course
- Honey and Peanut butter.
- Peanut Butter and a slice of banana
- Nutella and banana
- Ham and cheese. Use butter on both sides of the bread and then add mayo or mustard above that if you’d like. The butter keeps it from getting soggy.
Homemade Uncrustables can be frozen for up to a month.
What to do with leftover bread crusts:
Turn your uncrustables into french toast or donuts!
MAKE BREADCRUMBS
This is probably the easiest option of all. Making homemade breadcrumbs with leftover crusts is a simple, three-step process.
- Toast crusts in a 250 degree oven for about 2 hours, until they’re completely dry and crispy.
- Crush into breadcrumbs. To do this, you can either: a) put the toasted crusts in a large plastic food storage bag and crush with a mallet or rolling pin, or b) place the crusts into a food processor and pulse until desired consistency.
- Store your homemade breadcrumbs in an air-tight container (metal or plastic works best) for up to 2 weeks.
MAKE A BREAD PUDDING, BAKED FRENCH TOAST OR A STRATA
Use leftover bread crusts in place of bread cubes in your favorite bread pudding or strata recipe.
One thing to note if you do this – the taste will be exactly the same but the dish might not look as “full” and pretty as it does with bread cubes.
I’ve used bread crusts successfully in French Toast and Bread Pudding.
Nutrition Facts
Calories
122.84Fat (grams)
8.09Sat. Fat (grams)
1.56Carbs (grams)
20.88Fiber (grams)
1.31Net carbs
19.57Sugar (grams)
12.08Protein (grams)
4.06Sodium (milligrams)
107.01Cholesterol (grams)
0.00